Skip to main content area
Home
  • English
  • Español
  • Get it
  • Build it
  • Use it
  • Blog
  • DiyouPCB
    • Get It
    • Build
    • Use
    • Improve
    • Gallery
    • Downloads
  • Contact
  • About us

New kid in town and first conductive ink testing

Submitted by DIYouware on Sat, 11/14/2015 - 21:00

You guys probably already know that there is a new kid in town. It’s lovely, isn’t it?

It is the result of a collaboration agreement with Mecaduino. We already talked about these guys in other blog article.

We has named it TwinTeeth Plus, and changed the name of the original one to TwinTeeth Basic. The new model works in the same way than the original but with an aluminium framework.

Some people asked us: why another model?.  Well, one reason is because we met Mecaduino people at the Maker faire and we promised to make something with their system.

By the way, a picture of TwinTeeth Basic at the fair.

But main reason is that making the framework with aluminium parts we can save 3D printing time. Printing the plastic pieces of TwinTeeth Basic was taking us too much time.

It seems 3D printers make the hard work and meanwhile we can do other things but it is not so obvious. We need to supervise them and when printing 24 hours per day there are always issues to solve. The triangle vertexes are really big for our 3D printers. They almost take up all the printing platform (200mmx200mm). And each vertex takes approx. three hours to 3D print. We could not serve the kit’s demand.

Apart from that, the new printer has similar performance than the original, although is more robust, easier to assemble, and installing the toolheads is easier as well.

Conductive Ink

On the other hand, we found time to continue our researching with the nano-coopper particles.

We have been doing some experiments with the ink we brewed and the good news is that it has a good performance!. Testing results  are not conclusive yet, but it seems it has a good conductivity: approx. 8.8Ω per linear cm (using our “cheap” multimeter).

We also filled some vias to see if we were able to obtain side-to-side conductivity with them. It was difficult to fill them because the ink is too fluid and drain on the other side.  Maybe we should add some viscous agent to make it less fluid. Once put it inside we used a hairdryer to cure it.

After that we tested them and conductivity is also good.

So, we see feasibilty on the project. We still have to improve the formulations and also find a cheap source of cooper nano-particles.

We received the cooper oxide we ordered, but unfortunately we were wrong and ordered cooper oxide (II) instead of (I). The difference is that first one is more oxidized and is more difficult (almost impossible) to reduce the oxygen and obtain the cooper. 

For now we are going to spend our precious ink in some experiments and then we will see.


That’s all.

Thanks!

  • Read more about New kid in town and first conductive ink testing
  • Log in or register to post comments

New kid in town and first conductive ink testing

Submitted by DIYouware on Sat, 11/14/2015 - 20:59

You guys probably already know that there is a new kid in town. It’s lovely, isn’t it?

It is the result of a collaboration agreement with Mecaduino. We already talked about these guys in other blog article.

We has named it TwinTeeth Plus, and changed the name of the original one to TwinTeeth Basic. The new model works in the same way than the original but with an aluminium framework.

Some people asked us: why another model?.  Well, one reason is because we met Mecaduino people at the Maker faire and we promised to make something with their system.

By the way, a picture of TwinTeeth Basic at the fair.

But main reason is that making the framework with aluminium parts we can save 3D printing time. Printing the plastic pieces of TwinTeeth Basic was taking us too much time.

It seems 3D printers make the hard work and meanwhile we can do other things, but it is not so obvious. We need to supervise them, and when printing 24 hours per day always are issues to solve. The triangle vertexes are really big for our 3D printers. They almost take up all the printing platform (200mmx200mm). Each vertex takes approx. three hours to 3D print. And we could not serve the kit’s demand.

Apart from that, the new printer has similar performance than the original, although is more robust, easier to assemble, and installing the toolheads is easier as well.

Conductive Ink

On the other hand, we found time to continue our researching with the nano-coopper particles.

We have been doing some experiments with the ink we brewed and the good news is that it has a good performance!. Testing results  are not conclusive yet, but it seems it has a good conductivity: approx. 8.8Ω per linear cm (using our “cheap” multimeter).

We also filled some vias to see if we were able to obtain side-to-side conductivity with them. It was difficult to fill them because the ink is too fluid and drain on the other side.  Maybe we should add some viscous agent to make it less fluid. Once put it inside we used a hairdryer to cure it.

After that we tested them and conductivity is also good.

So, we see feasibilty on the project. We still have to improve the formulations and also find a cheap source of copper nano-particles.

We received the copper oxide we ordered, but unfortunately we were wrong and ordered copper oxide (II) instead of (I). The difference is that first one is more oxidized and is more difficult (almost impossible) to reduce the oxygen and obtain the copper. 

For now we are going to spend our precious ink in some experiments and then we will see.


That’s all.

Thanks!

  • Read more about New kid in town and first conductive ink testing
  • Log in or register to post comments

TwinTeeth Plus: la mini-factoría de circuitos impresos


Esta nueva versión de TwinTeeth está casi toda realizada con piezas de aluminio. Hemos diseñado un nuevo bastidor utilizando  Mecaduino: un sistema de construcción basado en perfiles de aluminio de 15x15mm que permite la interconexión de multitud de accesorios con una versatilidad increíble.
 

Spanish
  • Read more about TwinTeeth Plus: la mini-factoría de circuitos impresos

Kit del Bastidor de TwinTeeth Plus

550,00€
Spanish


Este kit incluye la mayoría de los materiales necesarios para construir el bastidor de TwinTeeth Plus.

Todos los materiales ya vienen cortados, taladrados y roscados y están casi listos para montar.

Esta es tu mejor opción si no tienes una impresora 3D o si prefieres un bastidor de aluminio robusto y fácil de construir.

El kit incluye los siguientes materiales:

Price: 550,00€
  • Read more about Kit del Bastidor de TwinTeeth Plus

Vias, tinta conductiva y nanoparticulas de cobre

Submitted by DIYouware on Thu, 10/29/2015 - 18:31

Durante las últimas semanas hemos estado investigando sobre como mejorar el proceso de fabricación de las vías usando TwinTeeth.

Para hacer las vías en plan DIY, existen diversos sistemas en el mercado basados en pequeños remaches, epoxy conductivo o  mediante electro-plateado, que es el método que se usa a nivel industrial. Además está el sistema tradicional que consiste en introducir un pequeño hilo en cada vía, soldarlo en ambos extremos y cortarlo. Si tenemos por ejemplo 100 vías en nuestro circuito, tendremos que hacer 200 soldaduras. Esto nos puede llevar algo de tiempo, pero además es aburrido, absurdo, produce melancolía y podemos cometer fallos difíciles de detectar.

Ninguno de estos métodos nos convence y estamos seguros que se puede mejorar mucho en este aspecto con la ayuda de un robot como TwinTeeth.

El principal problema a la hora de buscar una alternativa a la soldadura o al electro-plateado es la conductividad del material. Por ello principalmente se utilizan compuestos de plata que encarecen la solución. El grafeno parece que viene a sustituirla, pero en el momento de escribir este artículo tampoco es barato.

Empezamos investigando sobre él y cómo hacer tinta conductiva con óxido de grafeno pero las muestras para hacer las pruebas eran muy caras.  La idea era hacer tinta o pasta conductiva para rellenar las vías. Y ya que íbamos a hacer tinta conductiva también podíamos "pintar circuitos"  que es el segundo objetivo de este proyecto.

Seguimos creyendo en métodos aditivos para fabricar circuitos y también en hacerlos en 3D pero no es nada sencillo. Parece mentira que a estas alturas del desarrollo tecnológico no exista algo a nivel DIY en este sentido, pero es así.

Después del grafeno y sus desorbitados precios, pasamos a la plata que es el siguiente metal en la lista de conductividad. Las últimas investigaciones sobre tintas reactivas de plata son prometedoras y parecen que dan muy buenos resultados. La mayoría están basados en esta publicación:    "Reactive Silver Inks for Patterning High-Conductivity Features at Mild Temperatures" - S. Brett Walker and Jennifer A. Lewis.

Aquí podéis ver un video sobre cómo se hace esta tinta en casa:  "Make conductive silver ink".

No parece complicado, aunque el nitrato de plata (necesario para hacer el acetato) cuesta unos 50€ los 25 gramos. Habrá que ver luego el producto final que nos queda, que seguro serán unos mililitros. Por otro lado a pesar de ser bastante reactivas todavía requieren un templado a unos 85-100ºC, es decir no curan a temperatura ambiente.

Pero hay algunos startups que han conseguido formulaciones que sí curan a temperatura ambiente y están fabricando rotuladores con la tinta. Por ejemplo este: http://www.electroninks.com/.

Estos rotuladores los podríamos usar en Twinteeth fácilmente. Es tan sencillo como instalarlos en el Cabezal de Ploteado.

Volviendo al tema de las vías, en el ranking de conductividad, después de la plata sólo nos queda el cobre, así que nos hemos puesto a investigar sobre cómo hacer tinta de nano-partículas de cobre.

Buscando en internet encontramos los videos de Robert Murray-Smith y sus experimentos con tinta conductiva. Tiene muchos videos muy instructivos sobre cómo hacer tinta conductiva de diversos tipos. El que más nos interesa es este: cómo fabricar tinta con nano-partículas de cobre. El procedimiento es sencillo, los materiales asequibles y no son demasiado peligrosos.

Antes de continuar es conveniente aclarar que nuestro nivel de química es de instituto. Lo poco que aprendimos fue allí y con un Cheminova que nos regalaron por navidad. Pero lo cierto es que Internet es un medio fantástico para ampliar conocimiento, y si tienes una cierta base para comprender lo que estás leyendo se pueden hacer muchas cosas.

Así que compramos 1 kg de Sulfato de Cobre, y 1 Kg de Acido Ascórbico (en total fueron unos 25€) y nos pusimos a fabricar nano-partículas de cobre. El acido ascórbico, a pesar del nombre tan ácido que tiene, es simple Vitamina-C.

Antes adaptamos rápidamente una vieja batidora estropeada para hacer las mezclas. Usamos una lata de leche en polvo de bebe para alojar el motor, así que le hemos puesto el nombre de "LactoMix" en homenaje a la famosa Thermomix©.

Pero conseguimos apenas un gramo.

Probamos incluso usando un emisor de ultrasonidos para ver si mejorábamos la producción, pero nada.

La resistividad del producto final es de 2-3Ohm por cm lineal. Creemos que es aceptable, al menos para hacer vías.

Probamos con unos 20 litros a ver qué obteníamos.

Y después de decantar la solución conseguimos unos pocos ml más. No demasiado la verdad. Lo hemos guardado como cobre en paño en un frasco de Apiretal.

Vamos a utilizarlo para hacer pruebas, pero ya hemos visto que aunque la producción es fácil y barata, el método no es muy productivo así que no cumple los requisitos.

Necesitamos una fuente productiva y barata de nano-partículas de cobre de alta conductividad. Estás existen en el mercado a precios de laboratorio, es decir, prohibitivos. Además el cobre oxida con mucha rapidez y es difícil encontrarlo en su estado puro ya que normalmente ya está recubierto de una película de óxido de cobre.

Curiosamente el óxido de cobre es barato y se vende en ebay. Cuesta unos 30€ el Kg, lo malo es que es un pésimo conductor de la electricidad. Leyendo algunas publicaciones sobre nano-partículas, hemos descubierto que hay formas de convertirlo en cobre metálico (Cu) mediante una reacción de reducción. En ella el oxido pierde el oxigeno y es lo que necesitamos.

Para provocar la reducción hay que añadir energía y se puede hacer mediante calor (templado), mediante combinación con otros compuestos, mediante flashing (con una lámpara de halógeno potente), mediante láser y/o algunas combinaciones de ellas.

Se puede combinar con hidrogeno, CO y nitrógeno con los siguientes resultados.

CuO + H2 → Cu + H2O

CuO + CO → Cu + CO2

CuO + N2 → Cu + N2O2

Pero la forma que más nos gusta es la del láser. Sabemos algo sobre láseres y tenemos fácil acceso a ellos. Además, es una forma selectiva de inducir la reacción, es decir, quizás podemos fabricar una pasta de nano-partículas de óxido de cobre reactivas a la luz UV.

Podríamos aplicarla con el Dispensador de Pasta en las vías y luego provocar la reacción con el láser y convertir el oxido de cobre en cobre metálico. Otra opción sería usar un láser IR para provocar la reducción mediante calor. Y finalmente otra que se nos occurre es cubrir la via con una pequeña campana e injectar unas gotas de nitrógeno líquido mientras le atizamos con el láser.

Cualquiera de las opciones tiene una cierta viabilidad en el entorno DIY y cumple los criterios de coste.

Así que hemos pedido un poco de oxido de cobre (II) para probar.

Mientras lo recibimos y seguimos aprendiendo, vamos a gastar las nano-partículas que hemos obtenido para hacer algunos nano-experimentos.

De todas formas creo que necesitamos asesoramiento químico. Si alguno de vosotros es químico o está estudiando química y tiene algo de idea sobre este tema, y está interesado en echarnos una mano por favor, poneros en contacto con nosotros, seguro que podemos colaborar.

  • Read more about Vias, tinta conductiva y nanoparticulas de cobre
  • Log in or register to post comments

Vias, Conductive ink and Copper nanoparticles

Submitted by DIYouware on Tue, 10/27/2015 - 21:24

During the last weeks we have been researching on how to improve the process of making vias through-hole with TwinTeeth.

There are several commercial products for making PCB vias at home. Some based on small rivets, others on conductive epoxy. You can also use electroplating, which is the method used at the industry. In addition you can use the traditional system which consists of introducing a small wire in each via, solder it at both sides of the PCB, and cut it. For example, if you have 100 vias in your PCB, you have to solder 200 times. This can be time-consuming, but is also boring, absurd, produce a melancholic state of mind and is prone to failures.

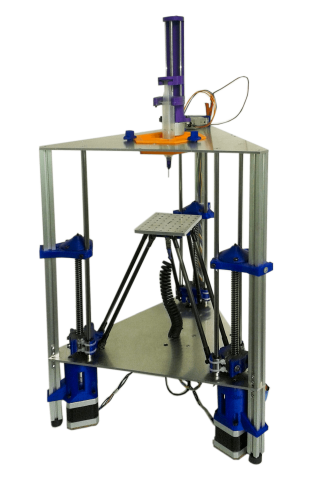
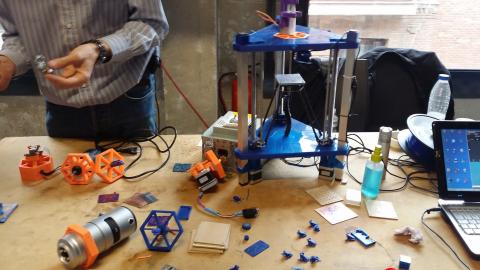
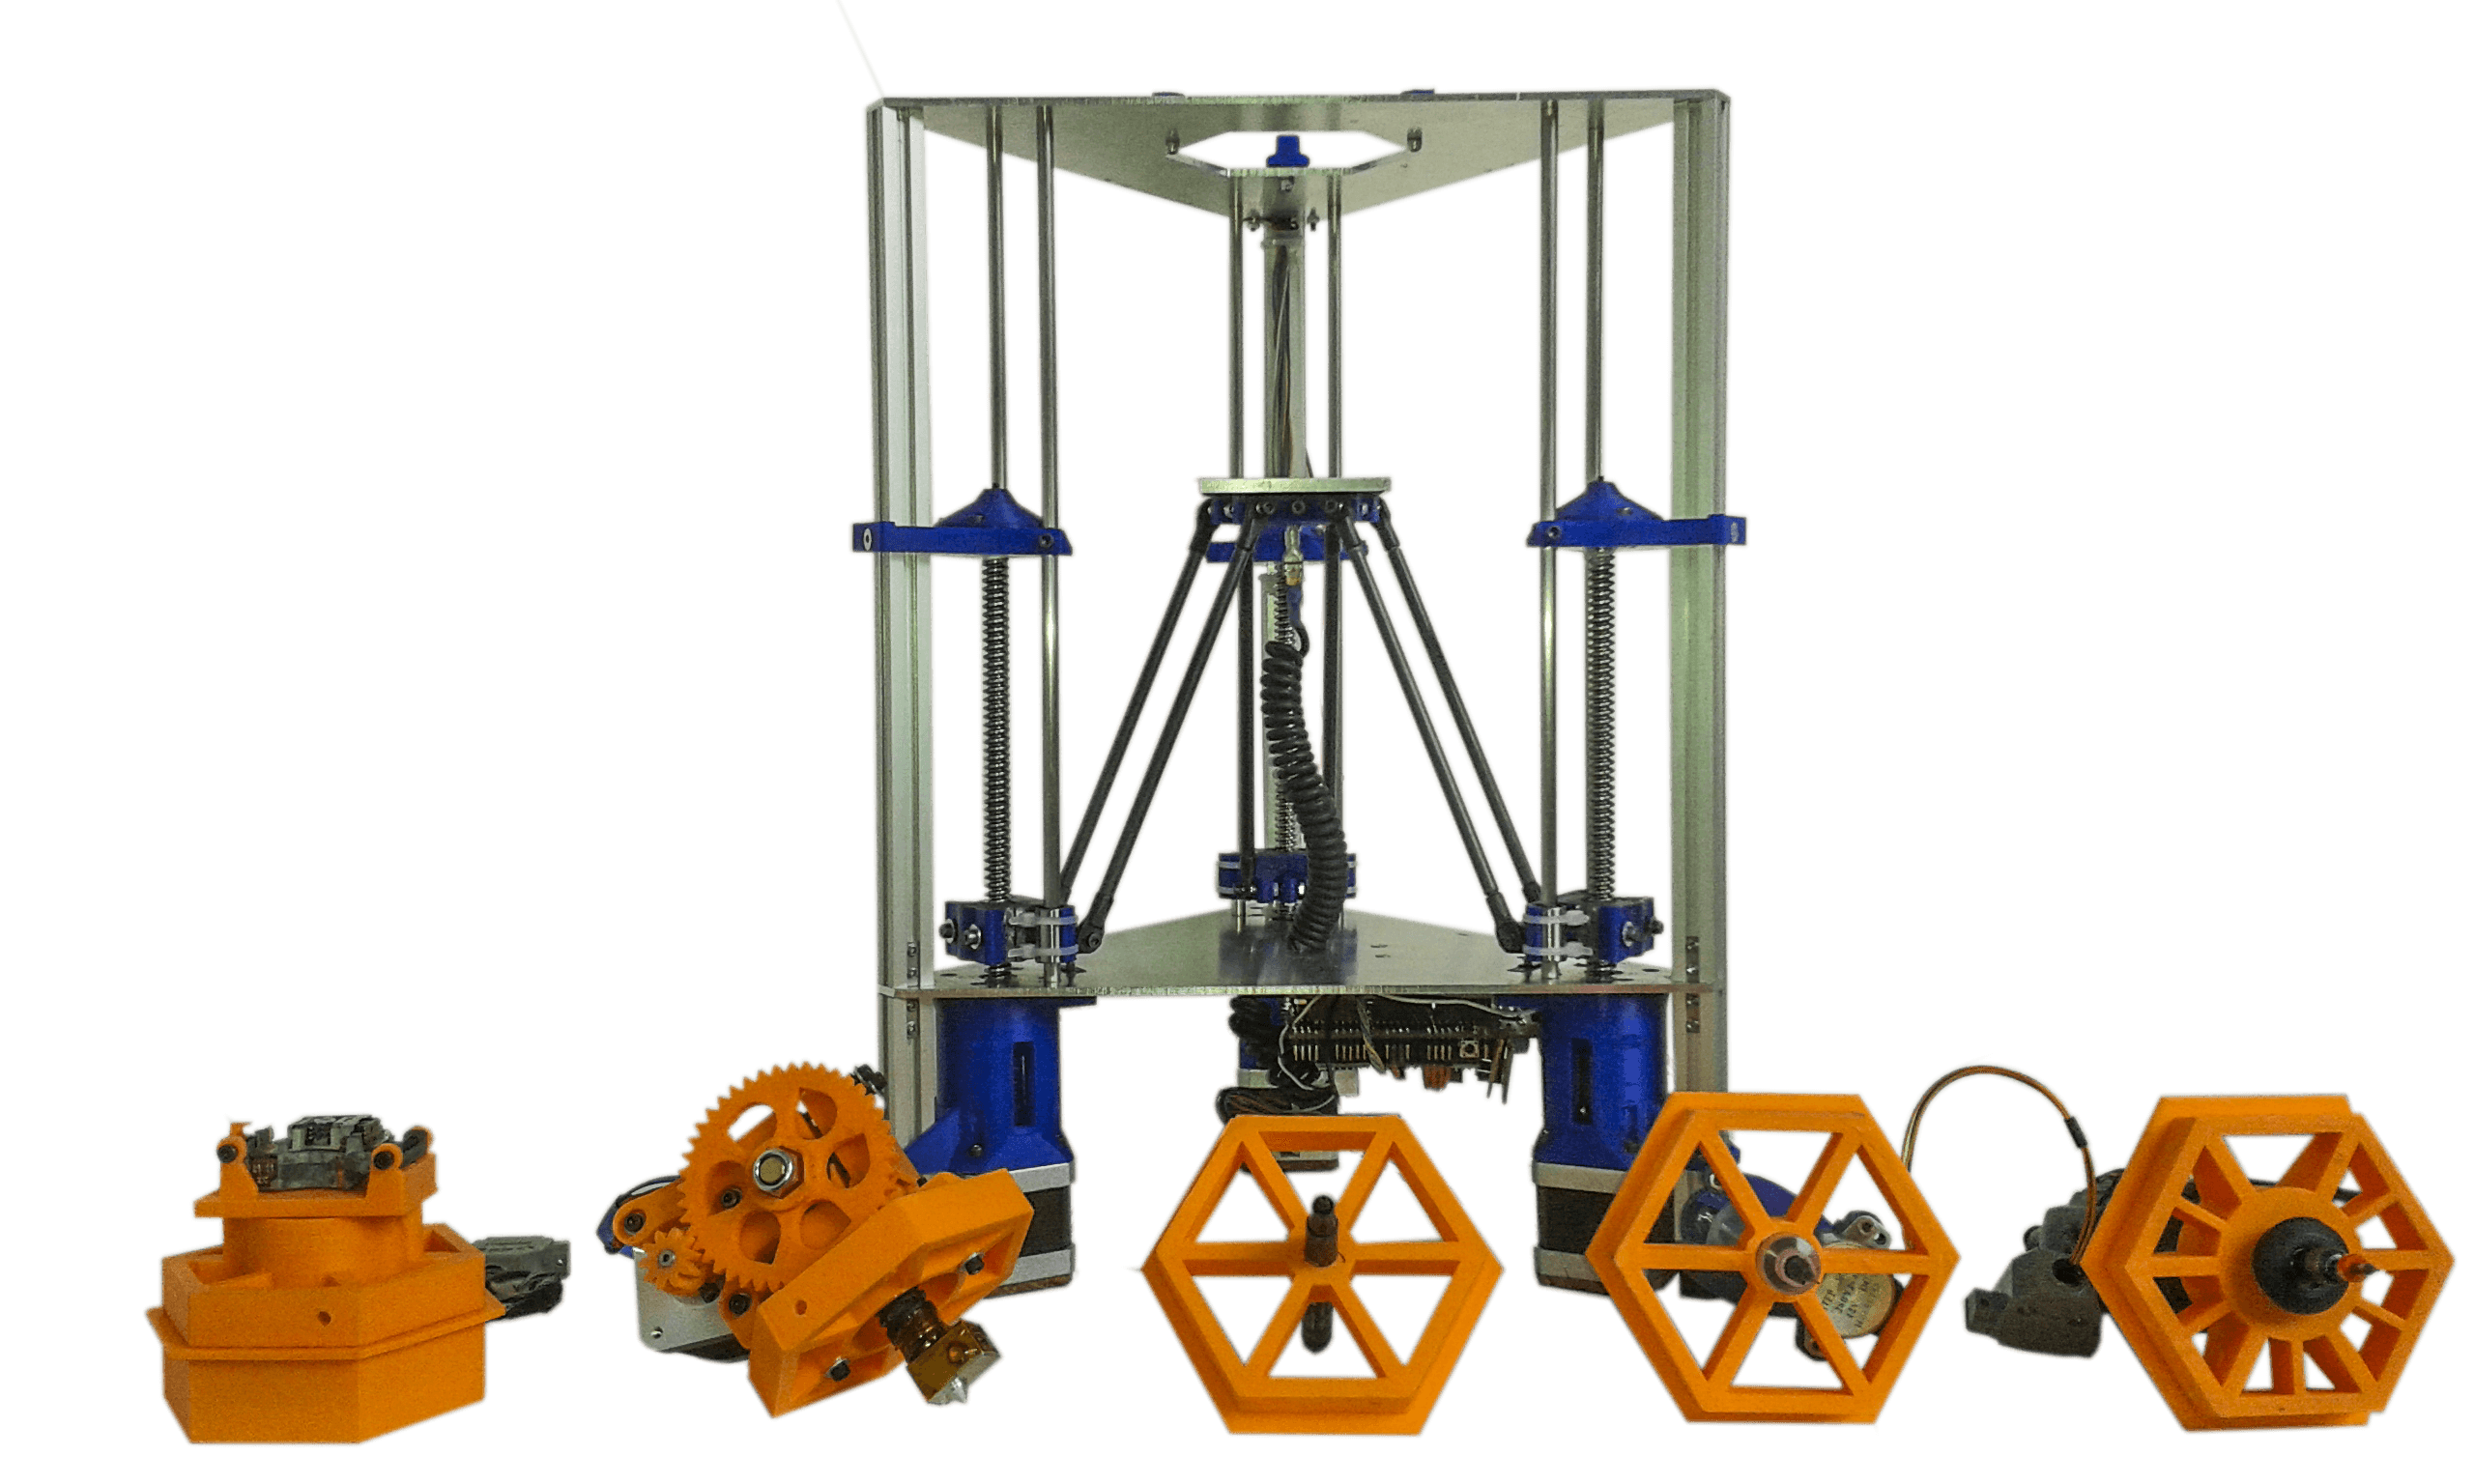
None of these methods convince us, and we are sure that there is an alternative way for making vias at home with the help of a robot like TwinTeeth.

Main problem when looking for an alternative method for soldering or electroplating vias is the conductivity of the material. For that reason silver in frequently used in the compounds, but at a cost. Graphene seems coming to replace silver but at the moment of writing this article it is not cheap.

We started researching on it and on how to make conductive ink with graphene oxide but the price of the samples were too expensive for our taste. The idea is to make ink or conductive paste for filling the vias, andif we are going to make conductive ink, we could paint circuits as well, which is the second goal of this project.

We firmly believe in additives methods to make circuits at home and also make them in 3D. It seems that at this stage of technological development we should already have something at the DIY level, but it is not so obvious.

Behind the graphene story and exorbitant prices, we turn to the silver which is the following actor in the conductivity list. Latest researching on reactive silver inks is promising and seems to give good results. Most are based on this paper: "Reactive Silver Inks for Patterning High-Conductivity Features at Mild Temperatures" - S. Brett Walker and Jennifer A. Lewis

Here you can see a video about how to brew it at home: "Make conductive silver ink".

It does not seem complicate, although the silver nitrate needed to make the acetate cost about €50 per 25 grams and probably we will obtain only a few ml after the process. Despite it is quite reactive, it still requires an 85-100°C annealing. In other words: it does not cure at room temperature.

However there are some start-ups that found similar formulations that cure at room temperature and are manufacturing and selling them and also markers. For example this one: http://www.electroninks.com/.

We could use these silver-ink markers on Twinteeth very easily. It is so simple as installing one on the Plotting Toolhead and paint the circuits with it.

Returning to the via topic, in the ranking of conductivity and behind silver we only found copper, so we focus our researching on this material and how to make ink or paste using copper nanoparticles.

Searching on the internet we found some videos of Robert Murray-Smith and his experiments with conductive ink. It has many and instructional videos about how to make conductive ink of different types. The most interesting for us was this one:  Homemade copper conductive paint / ink. You can see at the video that the procedure is quite simple, uses affordable materials and it seems not-too dangerous.

Before continuing, we should clarify that we only have basic skills on chemistry. The little we learned was when we where kids using a Cheminova toy and later at high-school. But Internet is a fantastic way to expand knowledge and if you have a basic level for understanding what you are reading you can learn many things.

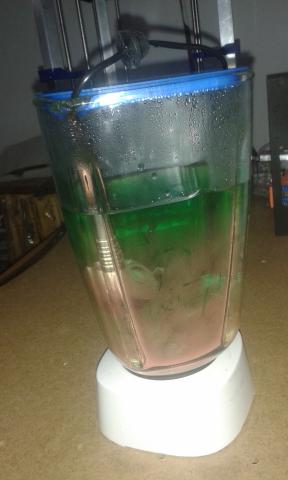
So we bought 1kg of copper sulphate and 1Kg of ascorbic acid (in total we spent about €25) and we started to brew copper nanoparticles at our garage. Acid ascorbic, despite the name, is not so acid: it is simple vitamin-C.

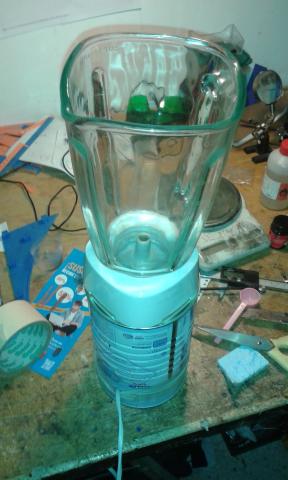
We quickly adapted an old burnt-blender to make the mixes. We used a tin of baby milk powder to accommodate the motor. We call it the "LactoMix" in homage to the Thermomix©.

But we just got less than a gram.

We even tried using an ultrasonic capsule to see if we improved production, but no way.

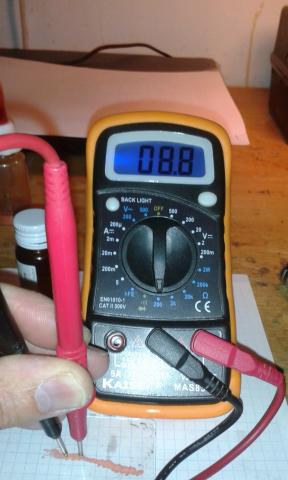
The resistivity of the final product is about 2-3Ohm per cm. We believe that it could be acceptable, at least for making vias.

We tried brewing 20 litters in a bigger container, just to pay off the Vitamin-C investment and see what happens.

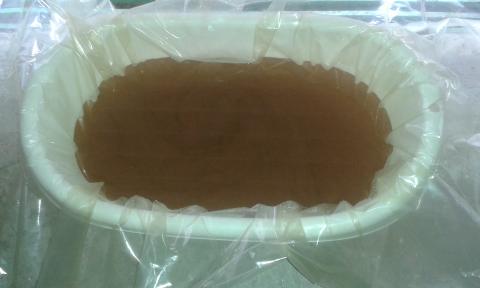
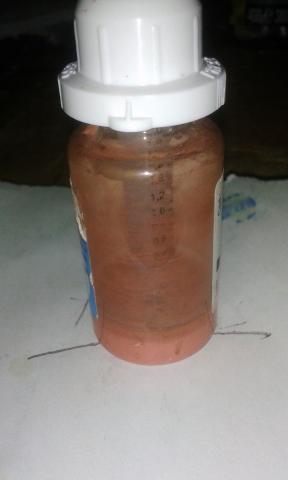
And after mining the solution we just got a few milliliters more. Not too much really. Finally we put the result into an empty Apiretal bottle and kept it in the safe box. :-)

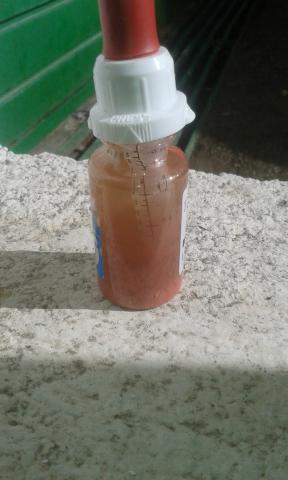
We are going to use it for "nano-testing".

Although production is easy and cheap, the method is not very productive so it does not meet our requirements.

We need a productive and cheap source of high-conductivity copper nanoparticles. We found it on the market but at “laboratory prices” aka prohibitive. In addition, the copper oxidizes very quickly and is difficult to find it in its pure form, since usually it is already covered by a thin film of copper oxide.

Interestingly, the copper oxide is cheap and we found it on ebay. It costs about €30 per Kg, but it is a poor conductor of electricity. Probably for this reason is so cheap.

Reading some publications on copper nanoparticles we discovered that there are ways to convert it into metallic copper (Cu) using a reduction reaction. It is a kind of reaction which the oxide loses the oxygen. This process is just the opposite of oxidation and is what we need if we want to use copper oxide.

To force the reduction we have to add energy and it can be done through heat (annealing), through chemical combination with other compounds, by light-flashing (using a powerful halogen lamp), by laser, and finally using some combinations of all of them.

It can be combined with hydrogen, carbon monoxide and nitrogen with the following results.

CuO H2 → Cu H2O

CuO CO → Cu CO2

CuO N2 → Cu N2O2

But the method we like is using the laser. We know a little about lasers and we have easy access to laser diodes. In addition, laser is a selective way of inducing the reaction. Perhaps we can make some kind of Cu oxide reactive paste sensible to UV light.

We could apply it with the Paste Dispenser ToolHead into the vias and then force the reaction with the laser and convert the oxide copper in metallic copper. Another option would be to use the IR laser and induce the reduction through heat. And another one, use a small cover on the via to inject some drops of liquid nitrogen and then hit the via with the laser on a N2 atmosphere.  

Any of them has some kind of viability on a DIY environment and meets the criteria of cost.

So, we order 100gr of copper oxide (II) to test.

While we wait to receive it we must learn more about alchemy and spend the copper nanoparticles that we already brewed.

Anyway, I think we need some chemistry technical advice.

If any of you is chemist or is studying chemistry, has some knowledge about this topic and are interested on it please, contact us. Sure we can collaborate and make something useful for the DIY community.

  • Read more about Vias, Conductive ink and Copper nanoparticles
  • Log in or register to post comments

TwinTeeth Plus Framework Kit

550,00€
English

This kit includes most of the materials needed to build the framework.

All the materials are already cut, drilled and treaded so they are almost ready to assemble.

This is your best option if you don't own a 3D printer or if you prefer a robust aluminium framework easy to build.

Price: 550,00€
  • Read more about TwinTeeth Plus Framework Kit

TwinTeeth Plus: the PCB mini-factory


This new version of TwinTeeth is almost made with aluminium parts. We designed a new framework using Mecaduino: a construction system based on 15x15mm aluminium extrusion. It allows interconnecting multitude of accessories with an incredible versatility.


English
  • Read more about TwinTeeth Plus: the PCB mini-factory

TwinTeeth Plus - Installing the Electronics

In this chapter we are going to install the electronics.

TwinTeeth uses an Arduino Mega 2560 and a Ramps 1.4 board which holds the Pololu A4988 Motor Drivers and other electronic circuitry.

English
  • Read more about TwinTeeth Plus - Installing the Electronics

TwinTeeth Plus - Asembling the Framework

Installing the Bottom Triangle

Put the Motor Holders and motors on the table forming a triangle.

Put a Bottom Lead-Screw Support part on each. Take care the micro-switch pocket is pointing to the centre or the triangle and the ball bearing on the top side (see next picture). This will be the motor position on the framework and will help you to assemble the bottom triangle and the rest of parts.

English
  • Read more about TwinTeeth Plus - Asembling the Framework

Pages

  • « first
  • ‹ previous
  • 1
  • 2
  • 3
  • 4
  • 5
  • 6
  • 7
  • 8
  • 9
  • …
  • next ›
  • last »

(c) 2013 Diyouware.com